
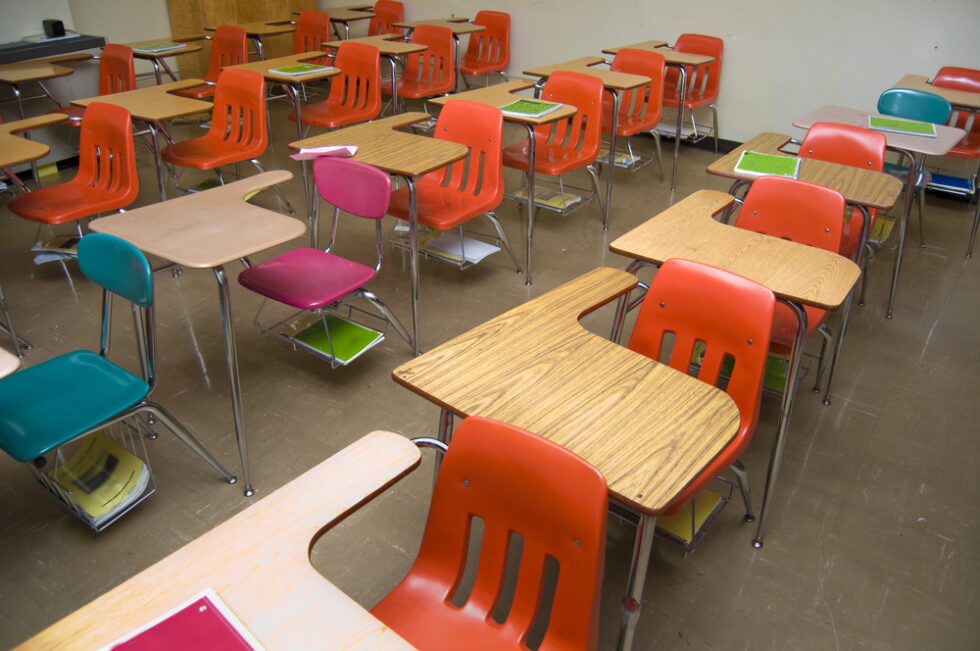
Where to Start with Classroom Set Up
Wooo hooo! It’s time to set up your room! You’ve been on Pinterest all summer, and are sooo ready! This is such an exciting time…until you walk in, see the endless stacks of student desks on one side of the room, realize the outlets are not where you expected them to be, and note that the space is not nearly as big as you had imagined. Classroom setup will not be easy. Now what?
Where to start?
First, consider your meeting space. No matter what age you teach, it’s going to be best if you plan for a large meeting area, most likely positioned near the smart board. You need a space large enough for everyone to fit. This is where you’ll do your demonstration teaching, create anchor charts together, conduct read alouds, and where students will be doing the “we do” phase of your lessons. Gathering the class (at every age!) near you rather for lessons will greatly increase student engagement and focus, so it’s worth the real estate. It’s also one of the most important ways to cultivate a sense of community. Yes, “big kids” might grumble a bit at first, especially if their teacher last year kept them at their desks for lessons, but they get over it pretty quickly.
You’ll need space to move in and out of partnerships and groups as you listen in to what students are saying during turn and talks, so be sure you’re allowing enough space to do that.
What do I need for efficient classroom setup?
Ideally, you’ll have a large rug to help delineate this as your meeting area. Large, like at least 6 x 8. There are other ways to mark off this space, so a rug isn’t totally necessary, but it sure is nice. Indoor/outdoor rugs, especially on clearance, are perfect, and easy to spot clean. You can also arrange your furniture around this area to act as a border around a large meeting space and go without a rug.
My favorite furniture border was 2-3 large, folding storage benches. My 4th graders loved sitting on them, it set the boundary lines for the meeting space perfectly, and there was a ton of storage space inside of them. It’s also where I kept all my indoor recess stuff.
Some teachers prefer to have students bring their own “rug spots” (small, round bathroom mats or extra large adhesive dots) as they come to the meeting space to gather. This keeps students in their own personal space while in the meeting area.
You’ll definitely need your document camera and a chair for you right up front. It’s best to position this so that whether you’re reading aloud or modeling something under the camera, you can glance up to see all of your students as well as the view under the camera. You don’t want to have to go around to your desk chair and use the camera from behind your teacher desk. Engagement will immediately suffer, and it costs transition time. You’ll want it positioned so you can demonstrate your teaching right in front of your students with no barriers. You’ll use this heavily for every subject area, so it’s worth getting an extension cord to make this happen.
You don’t need a fancy chair, but since you’ll be spending a lot of time in this spot, find something comfortable. You don’t have to do anything fancy. Truly any chair will do, even just a student chair. I always liked director’s chairs, so I could change out the fabric colors when my decor changed, and they are very comfortable and pretty inexpensive.
A dry-erase easel of some kind is a must, no matter what grade level you teach. You’ll need a spot to create anchor charts together, display ongoing charts and enlarged text, create interactive or shared writing pieces, and so much more. An easel was so indispensable to me that I eventually also got a portable one because I so often need TWO at the same time–one to display a mentor text, for example, and one to create some writing together or seize in-the-moment decoding or spelling opportunities.
Under the easel or under your chair, you’re going to need a caddy for often-used tools. You’ll need a variety of dry-erase markers, erasers, pointers, several sizes of highlighter tape, fix-up tape, and text frames. A set of colored markers, a highlighter or two, and masking tape will also be used often.
The math materials you often use during a particular unit can go here, too–magnetic base-ten blocks, unifix cubes, a demonstration clock, fraction bars, etc. The point is, you want everything you might need for a lesson right at your fingertips to save precious minutes of transition time later.
Student Materials Set Up
You’ll need to consider where a few student supplies will live, too. Typically, you’ll want whiteboards, clipboards, and a whole bunch of sharpened pencils close by, where students can grab them on their way to the meeting area (or be passed out quickly by “row leaders,”) and returned just as quickly when the lesson is over.
A tip from C.C. Bates, in her book Interactive Writing, is to have gallon-sized ziploc bags that contain a small whiteboard, marker (or two, in case one runs out), and an eraser all together.
I would add a tip that Lucy Calkins shares in her Phonics Units of Study: there can be a set of these baggies for the number of students in each row housed in separate bins. Then, “row captains” (the child at the end, closest to the materials) can pass out a whole kit to each student in their row. By having a “row captain” for each row, materials can be dispersed and collected in no time. Again, this saves minutes of transition time to preserve the time you have for teaching.
Long-Term Classroom Setup
Finally, consider the ongoing resources you will need to reference throughout your lessons. Having an alphabet chart handy and within reach is very important, as are any charts–like word work charts, name charts, and charts that are built during the unit. These depend on your grade level. These charts will rotate out as the learning progresses, so you won’t need a ton of wall space, but you do need to consider where these things will go.
Word walls, whether high-frequency words, thematic words, vocabulary words, or even sound walls or spelling charts, should be easily visible to students, too, as should the space you use for anchor charts throughout your unit teaching. It’s very important that there is a dedicated space for these things, so they are easily visible and accessible for you to use for teaching and for students to reference while working. That empty space way above the whiteboard might not be the best choice if it’s not very accessible to anyone.
None of these things should be on a slide that disappears after the lesson–these are all integral resources that help make your teaching stick–so they should be front and center, visible at all times.
Now, stand back and assess
Once you have an idea for how things will be laid out, test out a few spots where kids will be sitting. How clearly can they see? Do adjustments need to be made?
The meeting area is like the kitchen in any house. It’s the hub for everything everything else, so spend time thinking through this setup.
Once that meeting space is in place, the rest will follow much more easily!
Who is Coach from the Couch? I’m Michelle Ruhe, a 25+ year veteran educator, currently a K-5 literacy coach. I continue to learn alongside teachers in classrooms each and every day, and it’s my mission to support as many teachers as I can. Because no one can do this work alone. I’m available to you, too, through virtual coaching calls!
Want some help figuring out your classroom setup? Contact me to set up a coaching call, so we can think it through together!

And, join my private FB group –a safe, supportive community to provide support from other like-minded educators.
Was this post helpful? Subscribe here to be the first to see new posts to make an impact on your teaching!
Related posts: Setting Up Your Classroom Library, To Level or Not to Level?, The Secret to Setting Up Your Library for Maximum Student Impact


Add A Comment